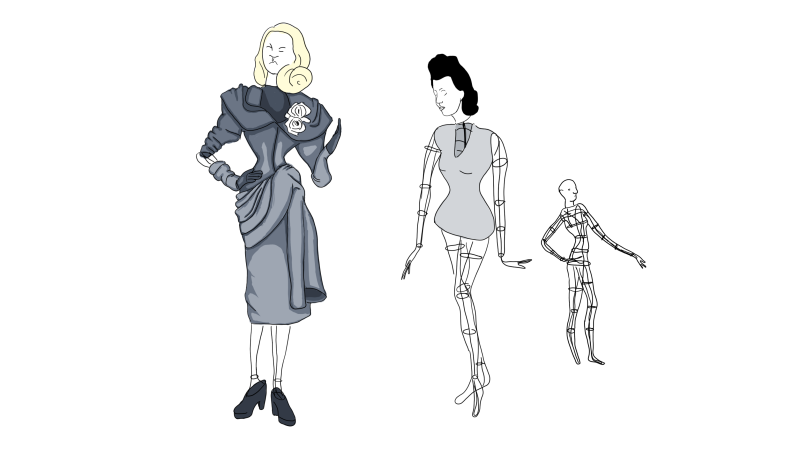
I know that I just wrote a sewing article, but I want to keep everyone sufficiently busy over the long winter break. When those long listless days of missing Whitman kicks in, pull out your mother’s, neighbor’s or friend’s sewing machine and start altering your wardrobe so you can impress your friends when classes finally start again. Even if you do not take your garment in to fit (see last issue) changing the hem and sleeve design can make your shirt or dress look completely new.
There is one key aspect of sewing that I cannot stress enough. Take your time to be precise with the preparation of a garment if you want your finished product to look tidy, professional and not like you just hacked it out in your backyard. Believe me, I know what a bother it can be to have to meticulously measure, iron, pin and re-iron, and pin again before sewing. I used to skip hemming and buttonholes when I made clothes for my stuffed animals, and even in my teenage years I rushed through projects, justified with the fact that the unfinished style of exposed seams was “in.” Well, it really isn’t anymore, so do the prep work!
There are many different hems to choose from. If you really want to change the style of a blouse beyond just shortening it, try a traditional blouse hem. This style is shorter at the side seams and longer in the middle of your torso. The easiest way to do this is to use a blouse you already have with this hem as a model and trace the hem onto your project. Remember to trace the hem lower on your blouse than you want the hem to rest. Most blouse and shirt hems are short, so about an inch of excess will suffice. If you want to shorten the sleeves and you are not sure how to do it, I also recommend using a shirt with a sleeve pattern you like as a model.
Measure carefully, make sure it’s even on both sides and then cut. Once you have made the cut, take the garment to the ironing board and fold the hem under a half inch and iron flat. Repeat this step one more time, rolling the fold under so that the cut edge is not visible, then pin the folds down. Put the garment on one last time to be sure you like the alterations.
If you approve of the length and style of the pinned garment, you are ready to sew. When sewing, choose a point on your sewing machine to measure so that your stitches are even all the way around. Lay down a piece of masking tape or blue tape if there aren’t any lines. Select a thread that blends nicely with the color of your garment. I recommend cotton-covered polyester, especially when working on a sewing machine. The stretch of polyester with the smooth finish of cotton is the easiest for machines to handle. When sewing, choose a setting of three or less, since anything larger is a basting stitch and won’t be very secure. I generally choose 2.5 as the setting. Use a piece of scrap fabric and test the tension of the machine by stitching a few inches on it. If the stitches look loose on one side and tight on the other, consult your sewing machine manual about adjusting the tension. If they look even and tight on both sides, you are ready to start sewing. Enjoy break as well as your new projects.